List items
Items from the current list are shown below.
Gecko
20 Oct 2023 : Day 65 #
Yesterday I worked out all the steps needed to build gecko-dev on a freshly installed Ubuntu 22.04 instance running in the cloud. It's a lengthy and complex process, so today I'm going to go through the same steps and try to explain what's going on with them.
There are a couple of reasons it's so complex. Mostly it's because there are slight difference between OBS and the local SDK which means that some manual steps need to be performed if you're planning to build locally.
I'm going to write out the steps here. In practice these are likely not to be entirely correct for everyone. But I'm hoping for feedback to allow the steps to be refined until everything works. To that end I'll also aim to put the instructions up on the sailfish-browser project wiki on GitHub, so that others can comment there if they're inclined to.
Let's go.
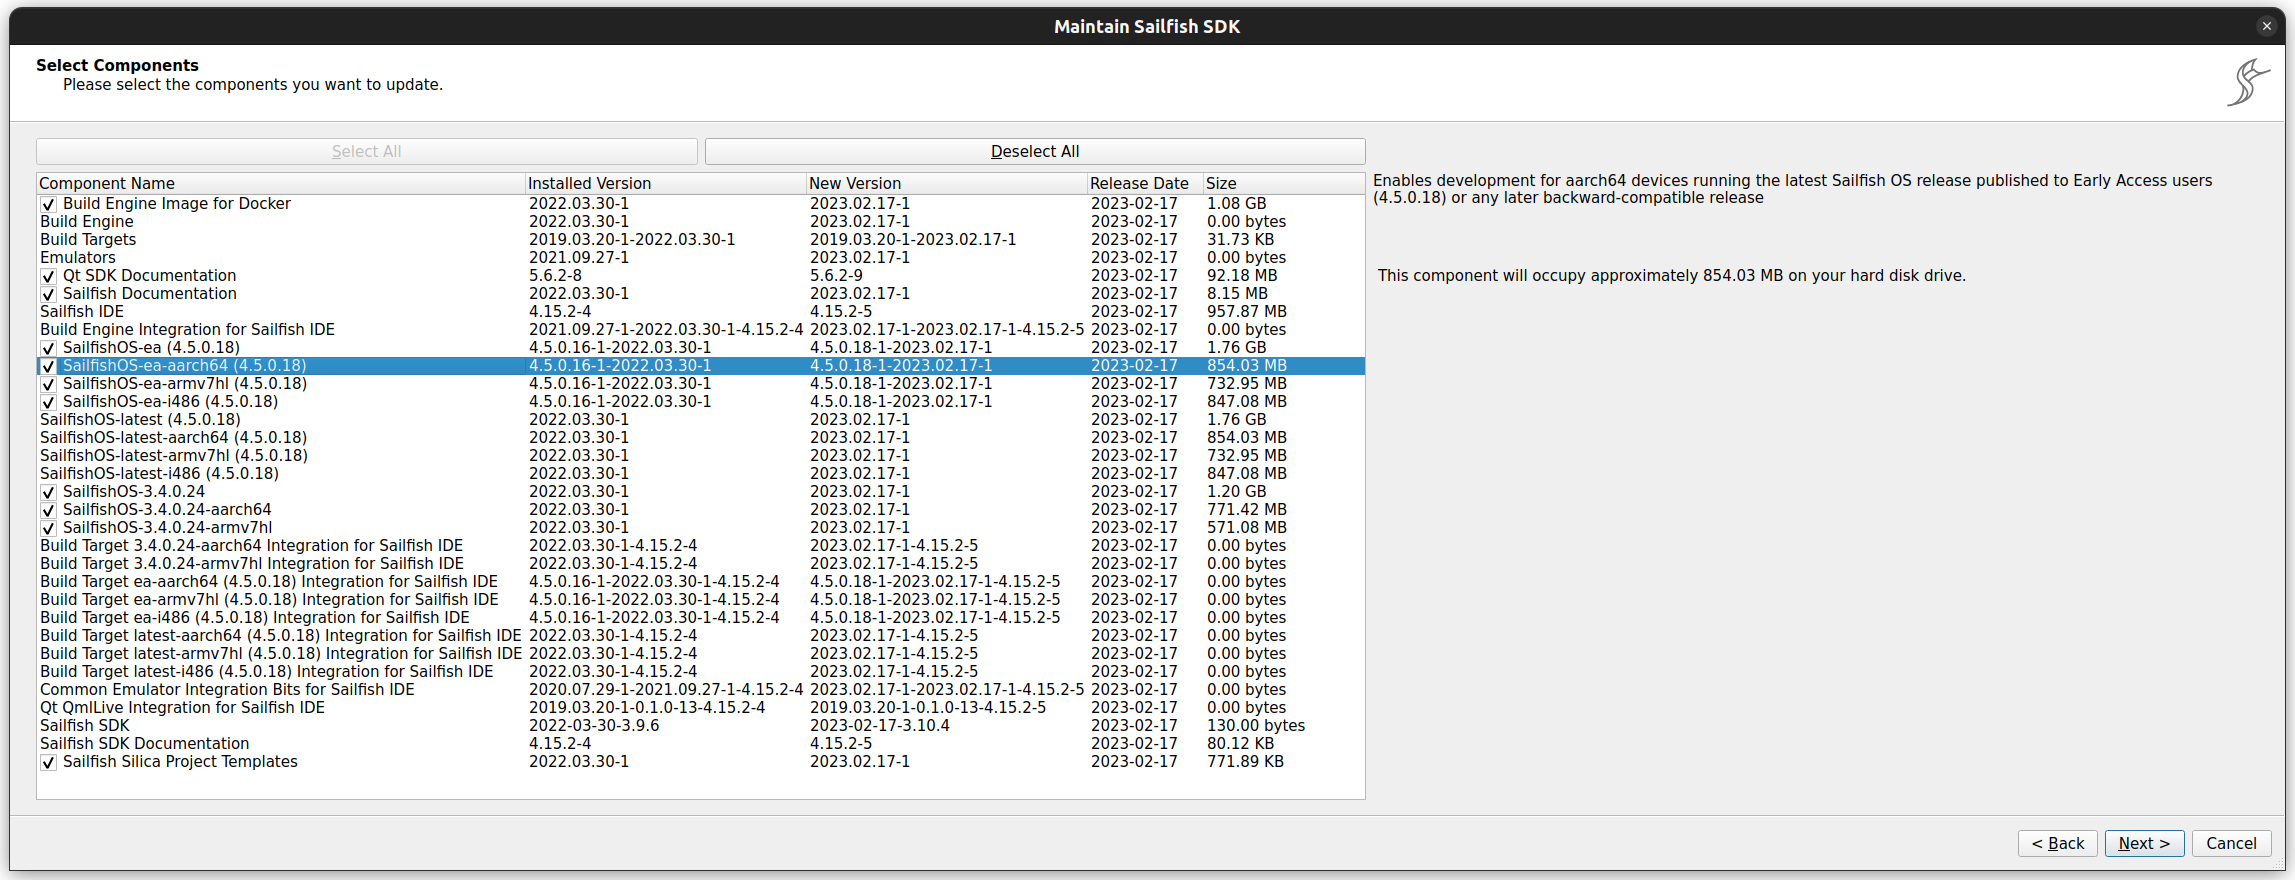
Step 1: Install the Sailfish SDK
Before installing the SDK you should make sure you have docker set up and working on your system. I strongly recommend adding your user to the docker group to avoid having to run your docker commands as root. You can also use a VirtualBox VM instead, but my preference is to use docker.
Now you're ready to install the Sailfish SDK. All the testing I've done has been with the aarch64 target, but there's nothing stopping you trying with any of the others.
Instructions for installing the SDK can be found on the [Sailfish Docs site](https://docs.sailfishos.org/Tools/Sailfish_SDK/).
At time of writing the latest versions are: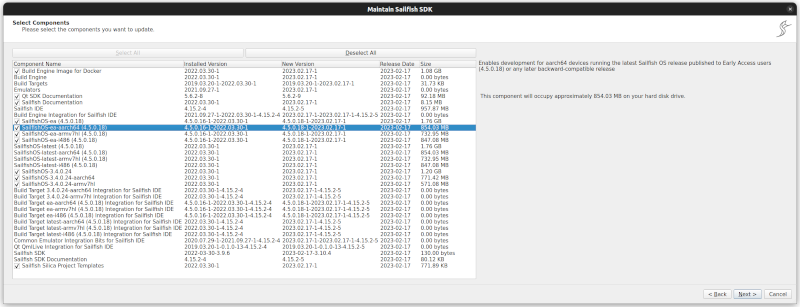
I am personally using an Early Access target, but the latest release target works just fine as well. Here's my configuration:
I like to add the following line to my ~/.bashrc file which allows me to use the sfdk command directly.
The latest targets will be installed automatically when you install the SDK, but if you want to install a new target from the command line, you can do so with the following commands.
Step 2: Configure your SDK
I recommend you clone your target. Snapshots are already there to keep your targets clean, but in the context of this walkthrough cloning has two benefits. First it avoids any mishaps with snapshots. If something goes wrong you can just delete the clone and restart. Second it allows us to use a consistent name for the target, irrespective of the actual version you're using.
Here's how I clone it. I've called the clone SailfishOS-devel-aarch64 because it's the target I do my development in.
For building gecko it's especially helpful — and necessary for the commands here to work in fact — to create a unified output folder using the output-prefix configuration option of the SDK. Usually when you build something with the SDK it will place the resulting packages in a folder relative to where the build takes place (either inside the project folder or in a folder at the same level, depending on whether you're performing in-tree or out-of-tree builds). We want all of the packages to end up in a single folder. And we want the folder to act as a repository for our build dependencies too.
To this end we run the following commands to set up an output folder. I've chosen ~/RPMS but you're safe to set this to anything you like, as long as you don't change it midway through.
We're also going to set up a specific target to use to make future commands easier to execute and to avoid us accidentally building something for the wrong target (which is surprisingly easy to do):
Gecko takes a lot of memory to build and if you don't have enough the tooling is liable to spit out cryptic segmentation fault errors. I found total memory of 32 GiB to be too little but 48 GiB to be enough. For what it's worth, this is what I have on a machine with 32.0 GiB of actual RAM.
Now we're into the gecko-specific stuff. For this you'll need to do some configuration of your build engine. These steps are counter intuitive, because you have to install various clang components into the SDK execution engine. We'd usually be installing things into a target rather than the build engine. We need to do this because the non-i486 builds still need access to the i486 clang library and gcc compiler suite.
There's an additional complexity in that Rust is used in two ways when building gecko. On the one hand some of the Rust code is compiled and incorporated into the final library binary. On the other hand some of the Rust code is compiled and incorporated into the build process itself. The former must output target-specific code (e.g. aarch64) whereas the latter must output tooling-specific code (usually i486). So we need both.
It's true that Rust can be cross-compiled, but scratchbox takes precedence in the Sailfish SDK, so we have to play by its rules.
Depending on whether you're running an aarch64 or an i486 build you may also need to apply, or remove, a semaphore fix. I'd ignore this unless you run into problems.
Step 5: Get the code
We're now ready to get all the ESR 91 gecko and related code; there's quite a lot of it. This is how I'm doing it right now, but hopefully in the near future the repository can be changed to use the official sailfishos repositories instead.
If you plan to make changes to this code you may also want to fork the repositories and use your own, but it's also fine to deal with that later if you need to.
First the pre-requisites. These are the packages you'll need to build gecko.
Second the post-requisites, by which I mean the packages that depend on gecko. You don't need to build these to build gecko, but you will need to have them built against your version of gecko if you want to install the updated browser on your device.
You now have all the code. Building the pre-requisites will take some time, but hopefully will be smooth sailing as long as you've configured things correctly up until now. I'll write this as a sequence of commands, but you'll need to wait for each build to complete before moving on to the next.
In the commands below I've added a -p flag so that the prep ("prepare") stage in the spec file is execuated. On subsequent builds you should leave this out.
The rust-cbindgen build is straightforward.
The exception is gcc which is a pain to build. So it'll be easier to grab the pre-built packages from OBS and use those.
Note that we're installing this into the snapshot of our cloned target, not the clone itself. This is to avoid mess, but it means you'll have to repeat these steps if you delete the snapshot.
Step 7: Build!
You've set up and configured your SDK, installed gcc, built all of the pre-requisites. Finally you can build yourself a gecko. The build is likely to take a long time (many hours) so be prepared to set it running and forget about it for a bit.
Step 8: Clean up
The build can fail for many reasons. If for example the rust-cbindgen or nspr packages don't install automatically, then you may need to install them manually (although I tend to find that running the build a second time can help here; I have no idea why this would make a difference).
If you do find you have to install local packages manually, you can do something along the following lines.
There are several things which depend on gecko. If you want to install gecko on your device you'll need to build these too. We already got the code in Step 5 above, so now we just need to run the SDK over it.
You'll find all of the packages you built in the ~/RPMS/SailfishOS-devel-aarch64/ directory. The following are the packages you'll need to install on your device. I've left off the version numbers to hopefully make things a little clearer.
Don't forget, if you'd like to read more about all this gecko stuff, do take a look at my full Gecko Dev Diary.
There are a couple of reasons it's so complex. Mostly it's because there are slight difference between OBS and the local SDK which means that some manual steps need to be performed if you're planning to build locally.
I'm going to write out the steps here. In practice these are likely not to be entirely correct for everyone. But I'm hoping for feedback to allow the steps to be refined until everything works. To that end I'll also aim to put the instructions up on the sailfish-browser project wiki on GitHub, so that others can comment there if they're inclined to.
Let's go.
Step 1: Install the Sailfish SDK
Before installing the SDK you should make sure you have docker set up and working on your system. I strongly recommend adding your user to the docker group to avoid having to run your docker commands as root. You can also use a VirtualBox VM instead, but my preference is to use docker.
Now you're ready to install the Sailfish SDK. All the testing I've done has been with the aarch64 target, but there's nothing stopping you trying with any of the others.
Instructions for installing the SDK can be found on the [Sailfish Docs site](https://docs.sailfishos.org/Tools/Sailfish_SDK/).
At time of writing the latest versions are:
- Sailfish SDK 3.1.0.
- Build target aarch64 Early Access 4.5.0.18
I am personally using an Early Access target, but the latest release target works just fine as well. Here's my configuration:
- Sailfish SDK 3.1.0.4
- Docker build engine
- Build target aarch64 4.5.0.16
I like to add the following line to my ~/.bashrc file which allows me to use the sfdk command directly.
alias sfdk=/home/flypig/Programs/sailfish-sdk/sailfish-sdk/bin/sfdkIf you don't want it to persist you can just execute the command directly in your shell.
The latest targets will be installed automatically when you install the SDK, but if you want to install a new target from the command line, you can do so with the following commands.
$ sfdk tools target list -a
$ sfdk tools target install SailfishOS-4.5.0.18-aarch64
All of this is standard SDK stuff. I've you've got a Sailfish SDK installed with the latest targets, you'll already be set.
Step 2: Configure your SDK
I recommend you clone your target. Snapshots are already there to keep your targets clean, but in the context of this walkthrough cloning has two benefits. First it avoids any mishaps with snapshots. If something goes wrong you can just delete the clone and restart. Second it allows us to use a consistent name for the target, irrespective of the actual version you're using.
Here's how I clone it. I've called the clone SailfishOS-devel-aarch64 because it's the target I do my development in.
$ sfdk tools target clone SailfishOS-4.5.0.18-aarch64 SailfishOS-devel-aarch64From now on I'll use this "devel" target in commands, but if you choose not to clone your target, or choose a different name, you'll need to amend the commands accordingly.
For building gecko it's especially helpful — and necessary for the commands here to work in fact — to create a unified output folder using the output-prefix configuration option of the SDK. Usually when you build something with the SDK it will place the resulting packages in a folder relative to where the build takes place (either inside the project folder or in a folder at the same level, depending on whether you're performing in-tree or out-of-tree builds). We want all of the packages to end up in a single folder. And we want the folder to act as a repository for our build dependencies too.
To this end we run the following commands to set up an output folder. I've chosen ~/RPMS but you're safe to set this to anything you like, as long as you don't change it midway through.
$ mkdir ~/RPMS
$ sfdk config --global --push output-prefix ~/RPMS
Note that the --global flag will make this change persist across reboots. If you want to use a different arrangements later or for other builds, you'll need to explicitly change it.
We're also going to set up a specific target to use to make future commands easier to execute and to avoid us accidentally building something for the wrong target (which is surprisingly easy to do):
$ sfdk config --global --push target SailfishOS-devel-aarch64Here's how things look on my system after we've done this:
$ sfdk config # ---- command scope --------- #Step 3: Increase swap memory# ---- session scope --------- # # ---- global scope --------- output-prefix = ~/RPMS target = SailfishOS-devel-aarch64
Gecko takes a lot of memory to build and if you don't have enough the tooling is liable to spit out cryptic segmentation fault errors. I found total memory of 32 GiB to be too little but 48 GiB to be enough. For what it's worth, this is what I have on a machine with 32.0 GiB of actual RAM.
flypig@chattan:~$ swapon --show
NAME      TYPE      SIZE   USED PRIO
/swapfile file       16G 755.5M   -2
/dev/dm-2 partition 976M     0B   -3
If you don't have sufficient physical memory you should create sufficient swap space to make up for it. The exact method you use to increase your swap size will depend on your distro and how you prefer to set things up, but it shouldn't be hard to do. For example, I just created a swap file and that was that. Here's what I did to configure an extra 16 GiB of swap (these commands are just illustrative; I don't recommend you run these commands as they are; check the docs for your distribution instead).
$ sudo dd if=/dev/zero of=/swapfile bs=16384 count=1048576
$ sudo chmod 600 /swapfile
$ sudo mkswap /swapfile
$ sudo swapon /swapfile
$ echo 'swapfile swap swap defaults 0 0' | sudo tee -a /etc/fstab
Step 4: Configure the build engine
Now we're into the gecko-specific stuff. For this you'll need to do some configuration of your build engine. These steps are counter intuitive, because you have to install various clang components into the SDK execution engine. We'd usually be installing things into a target rather than the build engine. We need to do this because the non-i486 builds still need access to the i486 clang library and gcc compiler suite.
$ sfdk engine exec
$ sudo zypper -n install clang-libs llvm-libs gcc-c++
$ exit
For context, the reason this is needed is that the build chain checks the clang version by dynamically loading it and checking that it contains various link points. This is done in the i486 environment of the tooling, so we need to have an i486 version of clang floating around in order for this to correctly complete.
There's an additional complexity in that Rust is used in two ways when building gecko. On the one hand some of the Rust code is compiled and incorporated into the final library binary. On the other hand some of the Rust code is compiled and incorporated into the build process itself. The former must output target-specific code (e.g. aarch64) whereas the latter must output tooling-specific code (usually i486). So we need both.
It's true that Rust can be cross-compiled, but scratchbox takes precedence in the Sailfish SDK, so we have to play by its rules.
Depending on whether you're running an aarch64 or an i486 build you may also need to apply, or remove, a semaphore fix. I'd ignore this unless you run into problems.
Step 5: Get the code
We're now ready to get all the ESR 91 gecko and related code; there's quite a lot of it. This is how I'm doing it right now, but hopefully in the near future the repository can be changed to use the official sailfishos repositories instead.
If you plan to make changes to this code you may also want to fork the repositories and use your own, but it's also fine to deal with that later if you need to.
First the pre-requisites. These are the packages you'll need to build gecko.
$ git clone -b master --recurse-submodules https://github.com/sailfishos/rust-cbindgen.git
$ git clone -b master https://github.com/sailfishos/nspr.git
$ git clone -b sailfishos-esr91 --recurse-submodules --depth 256 https://github.com/llewelld/gecko-dev.git
Note that the gecko code is really big, made worse by the history going back twenty five years.
$ git log --reverse
commit 3b56a9af51519d2e77e05efa672a13e6be2e9ebc
Author: ltabb <ltabb>
Date:   Sat Mar 28 02:44:41 1998 +0000

    Free the lizard
Hence I've restricted the depth to the last 256 commits, which should be plenty for most purposes.Second the post-requisites, by which I mean the packages that depend on gecko. You don't need to build these to build gecko, but you will need to have them built against your version of gecko if you want to install the updated browser on your device.
$ git clone -b sailfishos-esr91 https://github.com/llewelld/qtmozembed.git
$ git clone -b sailfishos-esr91 https://github.com/llewelld/embedlite-components.git
$ git clone -b sailfishos-esr91 https://github.com/llewelld/sailfish-browser.git
$ git clone -b master https://github.com/sailfishos/mapplauncherd-booster-browser
Step 6: Build the pre-requisites
You now have all the code. Building the pre-requisites will take some time, but hopefully will be smooth sailing as long as you've configured things correctly up until now. I'll write this as a sequence of commands, but you'll need to wait for each build to complete before moving on to the next.
In the commands below I've added a -p flag so that the prep ("prepare") stage in the spec file is execuated. On subsequent builds you should leave this out.
The rust-cbindgen build is straightforward.
$ cd rust-cbindgen
$ sfdk build -d -p
$ cd ..
The NSPR package is in the form of what's called a "dummy" structure. These work fine on OBS, but I don't know of a way to get the SDK to build them in their default form (can anyone explain how this can be done?). To get around this you can restructure the repository into something the SDK understands. The commands below perform all of this restructuring and then kick off the build. It's messy, but it should work.
$ cd nspr
$ mkdir rpm
$ mv *.patch *.spec *.changes rpm
$ sed -i -e 's/"@${SOURCE_DATE_EPOCH}"/"${SOURCE_DATE_EPOCH}"/g' rpm/nspr.spec
$ tar -xvf nspr-4.35.tar.gz --strip-components=1
$ SOURCE_DATE_EPOCH=$(git log -1 --pretty=%ct)
$ git add -u .
$ git add nspr rpm
$ git commit -m "temp"
$ sfdk build -d -p
$ cd ..
The dependencies should be installed automatically when you build gecko, including these ones you've just built. They'll be detected by the SDK in the ~/RPMS directory and will be installed as if they were coming from a remote repository. That's why we need the output-prefix in our config.The exception is gcc which is a pain to build. So it'll be easier to grab the pre-built packages from OBS and use those.
Note that we're installing this into the snapshot of our cloned target, not the clone itself. This is to avoid mess, but it means you'll have to repeat these steps if you delete the snapshot.
$ sfdk engine exec
$ sb2 -R -m sdk-install -t SailfishOS-devel-aarch64.default
$ zypper ar -f https://repo.sailfishos.org/obs/home:/flypig:/gecko-esr91/sailfish_latest_aarch64 gecko-esr91
$ zypper --no-gpg-checks -n ref --repo gecko-esr91
$ zypper ref
$ zypper -n install gmp mpc
$ zypper -n install --force --repo gecko-esr91 cpp gcc gcc libstdc++ libgomp libstdc++
$ zypper rr gecko-esr91
$ exit
$ exit
These commands add a remote repository from community OBS, install what we need from it, and then remove the repository again.
Step 7: Build!
You've set up and configured your SDK, installed gcc, built all of the pre-requisites. Finally you can build yourself a gecko. The build is likely to take a long time (many hours) so be prepared to set it running and forget about it for a bit.
$ cd gecko-dev/
$ sfdk -c no-fix-version build -d -p --with git_workaround
$ cd ..
For this build command we add a few flags. Here's what they do:
- -c no-fix-version: use the details from the spec file rather than the latest git tag to determine the package version number.
- -d: generate debuginfo and debugsource packages.
- -p: run the prepare step. On subsequent builds you should skip this flag.
- --with git_workaround: rename the .git directory to .git-disabled at the start of the build.
Step 8: Clean up
The build can fail for many reasons. If for example the rust-cbindgen or nspr packages don't install automatically, then you may need to install them manually (although I tend to find that running the build a second time can help here; I have no idea why this would make a difference).
If you do find you have to install local packages manually, you can do something along the following lines.
$ sfdk engine exec
$ sb2 -R -m sdk-install -t SailfishOS-devel-aarch64.default
$ rpm -U --oldpackage ~/RPM/cbindgen-0.*.rpm nspr-4.*.rpm nspr-devel-4.*.rpm
$ exit
$ exit
If the build fails before a certain point you may also have to reverse the git_workaround by renaming the .git directory manually (this will be performed automatically if the build succeeds).
$ mv .git-disabled .gitStep 8: Build the post-requisites
There are several things which depend on gecko. If you want to install gecko on your device you'll need to build these too. We already got the code in Step 5 above, so now we just need to run the SDK over it.
$ cd qtmozembed/
$ sfdk -c no-fix-version build -d -p
$ cd ..

$ cd embedlite-components/
$ sfdk build -d -p
$ cd ..

$ cd sailfish-browser
$ sfdk build -d -p
$ cd ..

$ cd mapplauncherd-booster-browser
$ sfdk build -d -p
$ cd ..
Step 9: Install the results on your device
You'll find all of the packages you built in the ~/RPMS/SailfishOS-devel-aarch64/ directory. The following are the packages you'll need to install on your device. I've left off the version numbers to hopefully make things a little clearer.
embedlite-components
mapplauncherd-booster-browser
nspr
qtmozembed-qt5
sailfish-browser
sailfish-browser-settings
xulrunner-qt5
xulrunner-qt5-misc
If you want to perform debugging, you should also install the following.
embedlite-components-qt5-debuginfo
embedlite-components-qt5-debugsource
qtmozembed-qt5-debuginfo
qtmozembed-qt5-debugsource
sailfish-browser-debuginfo
sailfish-browser-debugsource
xulrunner-qt5-debuginfo
xulrunner-qt5-debugsource
Having written these steps up, tomorrow I'm going to post up the results to the sailfish-browser repository for others to use and edit.
Don't forget, if you'd like to read more about all this gecko stuff, do take a look at my full Gecko Dev Diary.
Comments
Uncover Disqus comments